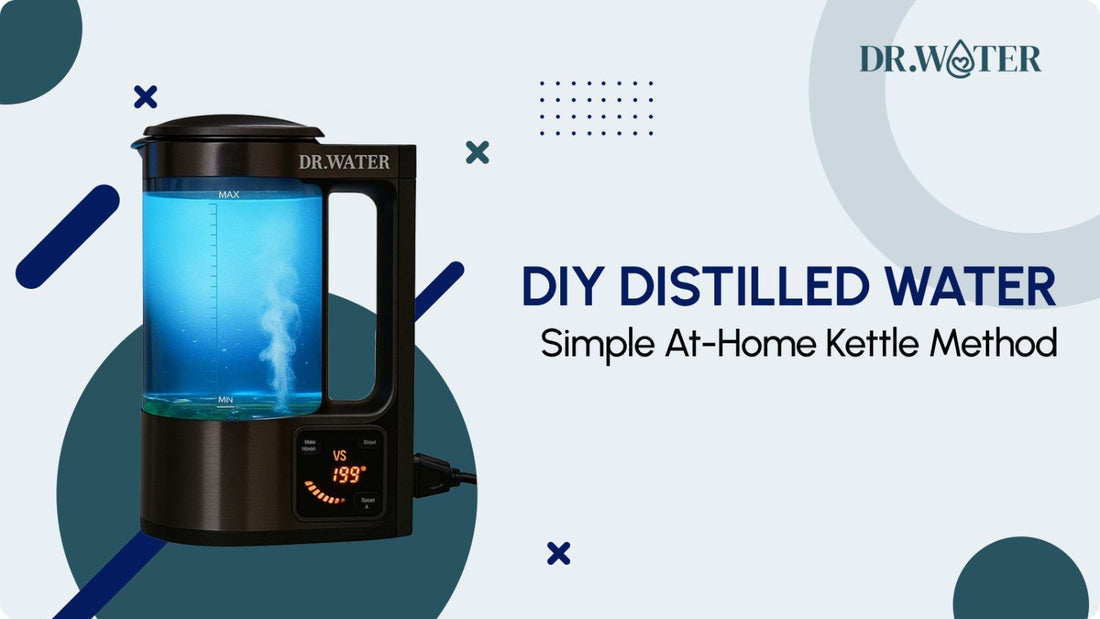
DIY Methods to Make Distilled Water at Home with a Kettle
Summary:
|
Need distilled water but don’t want to buy it by the gallon? Whether you're filling up a humidifier or maintaining a steam iron, distilled water is often the recommended choice.
We understand that the idea of making distilled water at home might seem complicated or time-consuming. But with simple tools and clear steps, you can confidently produce clean, mineral-free water right in your kitchen.
While store-bought options are convenient, making your own can save money and reduce plastic waste. However, you don’t need a fancy setup. With a simple distilled water kettle method and a few household items, you can produce small batches of clean water right at home.
In this guide, we’ll show you step-by-step how to do it safely and effectively through practical tips and common uses for your homemade distilled water.
Before we dive into how to make distilled water, let’s first understand what it is and why it’s useful.
What Is Distilled Water?

When water boils, impurities like minerals stay in the pot, while pure steam turns back into clean water. Distilled water is created by boiling water into steam and then cooling that steam back into liquid form. This process removes nearly all minerals, salts, and impurities, including heavy metals, bacteria, and chemicals, leaving behind ultra-pure water.
It is ideal for any application where mineral-free water is essential. Common uses include:
- Home Appliances: Humidifiers, steam irons, coffee makers (prevents scaling)
- Medical: Continuous Positive Airway Pressure (CPAP) machines, baby formula prep, and sterilization
- Skincare: DIY toners or facial mists
- Laboratory/Technical: Scientific experiments, car batteries, engine cooling systems
Beyond just utility, distilled water offers specific health and performance benefits that make it worth the effort to produce at home.
Why to Use Distilled Water: 4 Key Benefits

Distilled water isn’t just free of minerals. It offers several practical and health-related advantages that make it the preferred choice for many specialized uses. From supporting cleaner appliances to extending the life of DIY products, its ultra-pure nature makes a meaningful difference in both everyday and technical applications.
Here are four compelling benefits of using distilled water at home:
1. May Reduce Kidney Stone Risk
Studies show that increased intake of distilled or pure water leads to lower calcium and sodium levels in urine. It can dilute urine and potentially prevent mineral crystallization. This leads to reduced saturation levels of kidney stone-forming minerals like calcium oxalate and brushite.
2. Ideal Base for Precise Homemade Cleaners
Using distilled water ensures a consistent, mineral-free base in Do-It-Yourself (DIY) cleaning solutions. Unlike tap water, it won’t leave streaks or residue, making homemade cleaners more effective and predictable.
3. Maintains Flavor Purity for Sensitive Beverages
While minerals in water can enhance the taste of coffee and tea, distilled water provides a neutral canvas. This helps users discern subtle flavor profiles during tasting or cupping sessions.
4. Enhances Shelf Life of DIY Products
When used to dilute homemade sprays or plant misters, distilled water reduces bacterial growth and cloudiness. This keeps mixtures fresher longer due to its purity and lack of organic matter.
With those benefits in mind, you might be wondering if it's possible to create distilled water in your own kitchen. Let’s explore that next.
Disclaimer: The content is informational and not a substitute for professional medical advice.
Also Read: The 5 Best Gooseneck Water Kettles Under $100
How to Make Distilled Water at Home?
Yes, you can make distilled water at home, and it’s easier than you might think. While commercial distillation machines offer the most efficient results, there are several DIY methods you can use.
Some common home distillation methods include:
- Pot and lid method (using a large pot, glass bowl, and upside-down lid with ice)
- Solar distillers (for off-grid or long-term setups)
- DIY condenser systems (using tubing and ice baths)
- Kettle-based steam condensation (the easiest to set up in a modern kitchen)
Out of all these, using a distilled water kettle method is one of the most accessible and cost-effective options. If you already own a kettle and a few basic kitchen tools, you're halfway there.
Let’s explore exactly how this method works, what materials you’ll need, and two simple ways to start distilling water with a kettle.
How to Make Distilled Water Using a Kettle?
An electric or stovetop kettle is designed to boil water efficiently, which is the first step in the distillation process. However, to actually make distilled water, you also need a way to:
- Capture the steam as it escapes from the kettle, and
- Condense the steam back into liquid form in a clean container.
Kettles don’t have built-in collection systems, so you’ll need to DIY a condensation setup, usually involving a heat-safe funnel, metal tubing or silicone hose, and a chilled glass or metal bowl to collect the condensed vapor.
While not as efficient as a distiller machine, this method can work well for small quantities and occasional use, especially if you're aiming to produce distilled water for appliances or skincare.
Let’s gather the tools and materials you’ll need before starting your DIY distillation process.
Tools and Materials You’ll Need for DIY Distilled Water Project

Before starting your DIY distilled water project, gather the following tools and materials to safely and effectively condense steam from your kettle:
- Electric or Stovetop Kettle: Preferably one with a metal spout, as it better withstands prolonged heat and directs steam more efficiently.
- Heat-Safe Bowl or Glass Lid: Use this to cover the kettle spout or position above it to help collect and direct the steam. It should be able to handle high temperatures without cracking.
- Ice Cubes: These help cool the surface of your bowl or lid, aiding the condensation process so vapor turns back into liquid faster.
- Tongs or Heat-Resistant Gloves: Safety first! These protect your hands when adjusting hot equipment or handling the kettle during and after boiling.
- Clean Storage Container: Use a sterile glass jar or BPA-free plastic container to collect and store the distilled water after condensation is complete.
The following are some optional tools but could be helpful:
- Aluminum foil or silicone tubing (to better guide steam toward your condensation surface)
- Thermometer (to monitor boiling and avoid overheating)
With these items ready, you can now begin distilling water with simple, controlled steps.
Once you have your tools ready, here are two proven DIY methods you can use to make distilled water at home.
Also Read: How to Clean Your Electric Kettle with Citric Acid? A Simple Guide
DIY Methods to Make Distilled Water at Home with a Kettle
When it comes to distilling water at home, your kettle can be more versatile than you think. With the right setup, you can convert boiling water into clean, mineral-free distilled water.
Below are two popular methods you can try, one simple and one more advanced, depending on your tools and comfort level.
Method 1: The Bowl-in-Lid Condensation Method
This easy DIY technique uses steam from your kettle and a chilled surface to condense and collect distilled water.
Here is the step-by-step process:
- Fill the Kettle: Pour tap water into your kettle, filling it about halfway to prevent overflow during boiling.
- Position the Heat-Safe Bowl: Place a small, heat-resistant bowl directly in the path of the steam coming from the spout. You can also rest the bowl on a stand just above the spout opening to catch condensed drops.
- Cover with an Inverted Lid and Ice: Place an inverted glass or metal lid over the bowl or spout. Fill the lid with ice cubes to create a cool surface for the steam to condense on. Be careful to ensure the lid is balanced and stable.
- Boil the Water: Turn on the kettle and allow the water to boil. As steam rises and hits the cold lid, it will condense and drip into the bowl below.
- Collect the Distilled Water: Once you've collected enough water in the bowl, turn off the kettle. Use tongs or heat-resistant gloves to remove the hot components safely. Pour the collected water into a clean, airtight container for storage.
This method works best when you only need a small quantity of distilled water. For example, for an iron, humidifier, or skincare use.
If you’re looking to produce slightly more distilled water, the next technique offers a more advanced approach with better efficiency.
Method 2: Steam Transfer Using Metal Tubing (Advanced)
If you're looking for a more efficient and science-inspired way to make distilled water using a kettle, this steam transfer method offers better yield.
Here is the step-by-step process:
- Attach Metal Tubing to Kettle Spout: Attach a clean copper tube to your kettle's spout, it helps steam cool down faster.
- Position the Collection Jar in Ice Bath: Angle the other end of the tube downward into a glass jar or bottle placed inside a bowl filled with ice water. This cold environment encourages fast condensation of the steam.
- Boil the Water: Turn on the kettle and bring the water to a rolling boil. As steam flows through the tube, it will cool and condense back into liquid form, dripping into the collection jar as distilled water.
- Monitor the Setup: Carefully monitor the entire process. Use heat-resistant gloves when handling the kettle or tubing. Be extremely cautious, escaping steam can cause burns if mishandled.
- Transfer and Store Safely: Once you've collected enough distilled water, turn off the kettle and let all components cool completely. Pour the distilled water into a clean, airtight container for storage.
This method is ideal for those who want to produce larger quantities of distilled water at home and are comfortable working with DIY tools.
Whether you go with the basic or advanced method, always keep safety front and center while distilling at home.
Safety Tips While Distilling at Home
When making distilled water with a kettle, safety is just as important as technique. Here are essential precautions to follow:
- Never Seal the Kettle or Block Steam Vents: Blocking steam can lead to dangerous pressure buildup and potential burns or explosions. Always allow steam to escape freely.
- Keep Children and Pets Away: Hot surfaces, boiling water, and steam pose serious risks. Maintain a clear, safe area around your setup.
- Use Only Clean, Heat-Safe Materials: Ensure all components, bowls, lids, tubing, can withstand heat and are free from chemicals that could contaminate the water.
- Sanitize All Collection Containers: Before storing distilled water, thoroughly clean and sanitize the container to avoid introducing bacteria or impurities.
These precautions help ensure your DIY distillation process is not only effective but also safe for you and your household.
Once you’ve made your distilled water safely, it’s important to store it properly to maintain its purity.
Also Read: Electric vs. Stove Top Kettle: Which One Boils Water Faster and Smarter?
How to Store Homemade Distilled Water?

Proper storage is key to maintaining the purity of your distilled water. Follow these steps to keep it safe and usable:
- Use Clean, BPA-Free Plastic or Glass Bottles: Choose food-grade containers with airtight lids to prevent recontamination. Glass is ideal for long-term storage, while BPA-free plastic is a safe, lightweight alternative.
- Label and Date Each Batch: Always mark the bottle with the date it was distilled. This helps you track freshness and ensures older water gets used first.
- Store in a Cool, Dark Place: Keep distilled water away from sunlight and heat, which can encourage bacterial growth. A pantry or cupboard works well.
By storing your homemade distilled water correctly, you preserve its quality for use in sensitive applications like CPAP machines, skincare, and appliances.
Fortunately, there’s a way to enhance your DIY results even before you start boiling, by improving the water quality at the source.
Also Read: Is Kettle Water Safe to Drink? Here's What You Should Know
Elevate Everyday Hydration with the Dr. Water HydroTumbler
For those who want the benefits of hydrogen water without bulky machines or bottled waste, the Dr. Water HydroTumbler is the perfect solution. This portable, USB-rechargeable tumbler uses advanced electrolysis to generate fresh hydrogen-rich water in just 3–5 minutes anytime, anywhere.
Key benefits of the HydroTumbler:
- Portable and compact, ideal for gym, office, or travel
- Built-in platinum-coated electrodes for clean hydrogen production
- No filters or cartridges required, just add water and press a button
- Antioxidant-rich hydration to help reduce fatigue and oxidative stress
- BPA-free and leak-proof design for safe, daily use
Try the Dr. Water HydroTumbler now and enjoy effortless, on-the-go hydration that supports your wellness goals.
Final Thoughts
Distilling water at home using a kettle is a clever and cost-effective way to produce mineral-free water for occasional use. Whether you're topping up a humidifier or simply avoiding scale buildup, the distilled water kettle method can meet your needs with tools you already have in your kitchen.
Want even better water quality at home? Buy Dr. Water’s hydrogen water solutions for clean, mineral-optimized hydration that supports your appliances and your health.
(FAQs)
1. Can I really make distilled water using a regular kettle?
Yes, with the right setup, a distilled water kettle method lets you boil, capture, and condense steam to produce mineral-free water at home.
2. Is distilled water from a kettle safe to use for medical devices like CPAP?
Homemade distilled water can work for short-term use, but for CPAP or medical equipment, it’s safest to use store-bought or lab-grade water for purity assurance.
3. How much distilled water can I get from one batch using the bowl method?
Typically, you’ll collect ½ to 1 cup per session, depending on steam capture efficiency and condensation setup. It’s best for small, occasional needs.
4. Can I use plastic tools or containers in the distillation process?
Use only heat-safe and BPA-free materials. Avoid plastics near boiling water; glass, stainless steel, or silicone are safer for the distilled water kettle setup.
5. Why does my kettle get mineral buildup even if I’m distilling water?
If you’re using hard tap water to start, minerals may remain in the kettle after steam separates. Pre-filtering with solutions like Dr. Water helps reduce this buildup.